Drying cannabis buds is a crucial step in the cultivation process to ensure optimal potency and flavor. Here’s a comprehensive guide on how to dry delta 9 bud effectively:
1. Harvesting the Buds
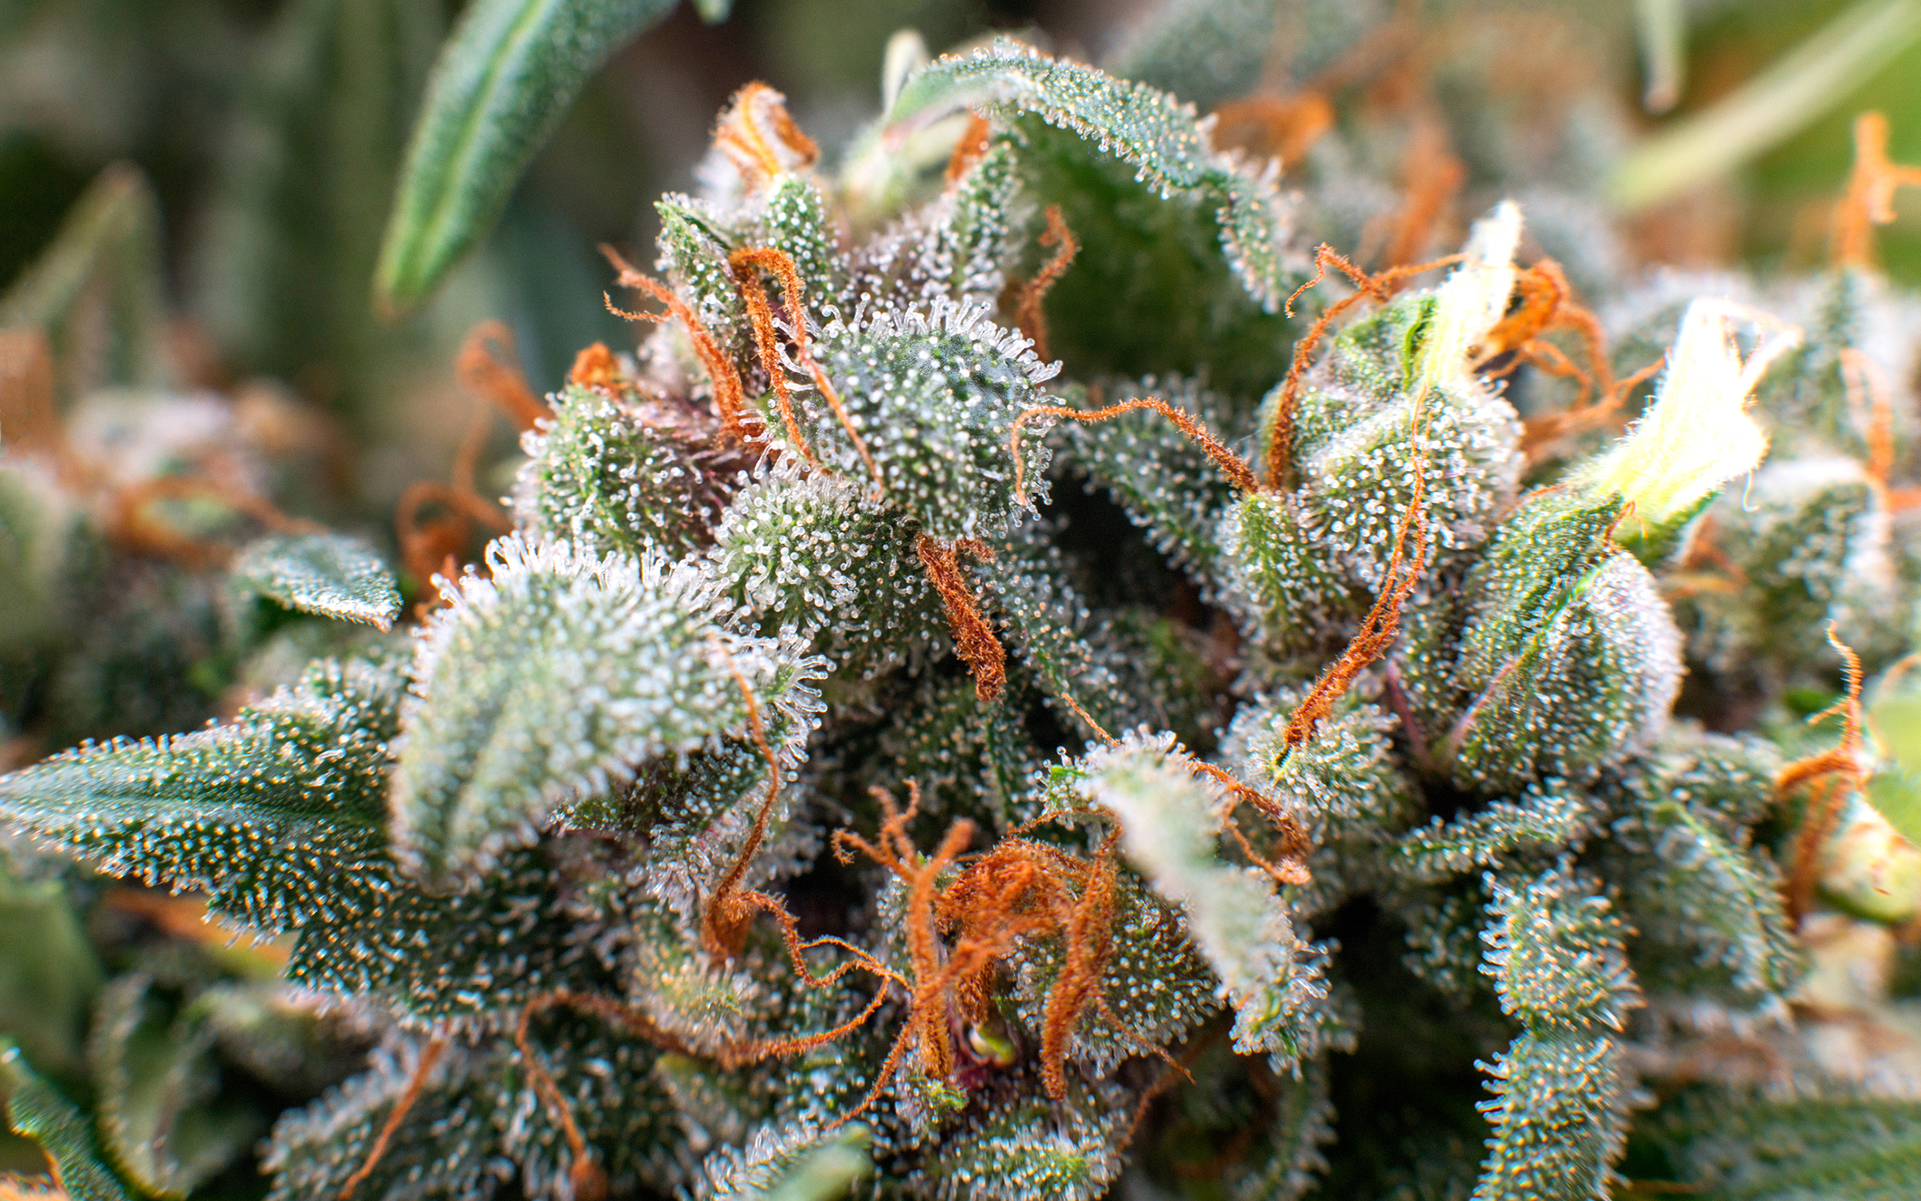
Before drying, ensure your Delta 9 buds are ready for harvest. Look for cloudy trichomes with some amber hues for the best balance of cannabinoids.
2. Trim the Buds
Trimming excess leaves from the buds improves airflow and helps prevent mold during drying. Use sharp scissors to carefully trim away leaves close to the delta 9 bud.
3. Hang Buds to Dry
Hang the trimmed buds upside down in a dark, well-ventilated room. Maintain a consistent temperature of around 60-70°F (15-21°C) and humidity of 45-55%. This environment encourages slow, even drying.
4. Use a Drying Rack
Alternatively, place buds on a drying rack if hanging space is limited. Ensure buds are spaced apart to allow adequate airflow.
5. Monitor Drying Conditions
Check buds daily for moisture content. Buds should feel dry on the outside but still slightly moist inside. Avoid overdrying, which can degrade cannabinoids and terpenes.
6. Burping the Buds
During the drying process, “burping” involves briefly opening containers or bags holding buds to release excess moisture and prevent mold formation. Do this daily, gradually increasing intervals as buds dry.
7. Test for Dryness
After approximately 7-10 days, buds should feel crisp on the outside and snap when bent. Buds should also easily separate from stems.
8. Final Cure
Once buds are sufficiently dry, transfer them to airtight glass jars for curing. Store jars in a cool, dark place for 2-4 weeks, opening them periodically to burp and redistribute moisture. Curing enhances flavor and smoothness by allowing cannabinoids to mature.
9. Enjoy Your Delta 9 Buds
After curing, your Delta 9 buds are ready for consumption. Store cured buds in airtight containers in a cool, dark place to maintain freshness and potency.